'/%3e%3c/svg%3e)
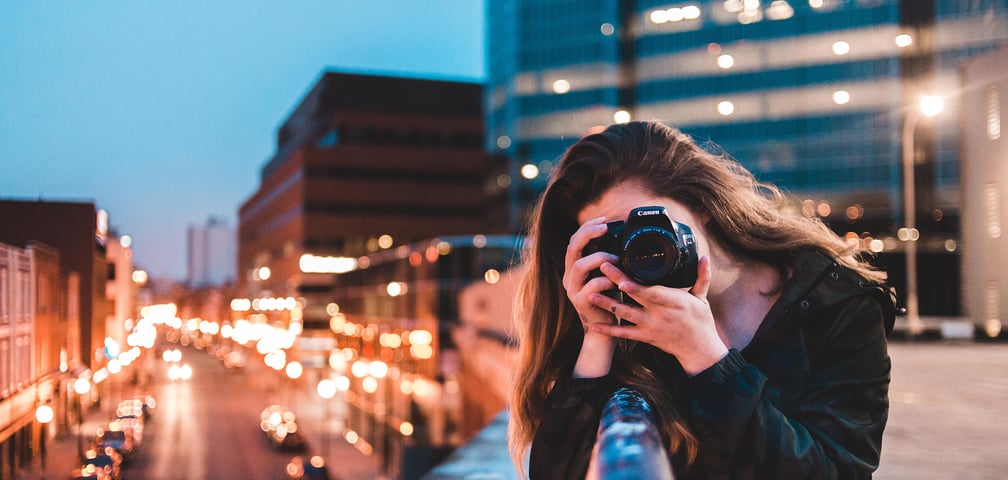
7 Basic Rules for Taking Great Photos
1. Fill the Frame/Cropping
Busy backgrounds and surroundings can take away the impact of your photo. To fix this, simply crop tightly around your main subject and point of focus in the photo. When doing this, the attention is solely on the subject of the photo and not on the background. This is especially helpful for portrait photos and when you are trying to capture an intimate focus or are taking photos in a busy location.
Helpful Tip: Filling the frame could involve you capturing a person from the waist up for more impact, or you can fill the frame with just their face.
2. Don't Cut Off Limbs
Focus on the frame edges of the picture. Make sure that the person or animal you’re capturing does not have any of their body parts chopped by the frame lines. When cutting off a piece of your dog’s tail or a sliver of a model head out of the frame, it spoils the focus of the subject and can take away the impact of your photo. We as humans like whole and complete lines/ images, so when there is an incomplete image our mind naturally gravitated towards looking for the flaw.
Helpful Tip: Of course, this rule is not set in stone. There are instances where this rule can be ignored, but for the most part, be aware of the impact it can make.
3. Simplify & Understand Your Focus
When there is too much going on in a photo, the person viewing the picture will have a hard time searching for a point of interest and may get bored of trying to find a focal point. This doesn’t mean you can’t have more than one focus point, just that you need to understand the subject/subjects of which you are trying to capture. Figure out what your main focus is in a photo and focus the camera on that point. If the shot is still too busy after the photo is taken, you can still edit the picture to keep the focus on the subject with cropping, blurring, or color-popping.
Helpful Tip: Take a look around you while also looking into the lens of the camera, see what pops out, and capture an organic focal point.
4. Frame within a Frame
The word is full of objects that create perfect photo framings. This can be captured in nature with trees, archways, and holes. Or in cities with architecture, bridges, and fences.
Including a frame within the frame can come in handy for various reasons.
One: You can guide the eye to the main focal point that you want to spotlight. When you place edges around the subject, you are isolating the main point, which guides the eyes naturally to the point of interest.
Two: You can hide unwanted objects in your shot and create depth in the scene. Depending on the angle, you can use the frame within the frame to hide or blend busy features you don’t want to be seen, or the busy background blends into the frame itself.
Helpful Tip: Look for arching elements such as windows, overhanging branches, or narrow streets to create a frame effect.
5. Rule of Thirds
This is the most common and best rule to follow when trying to capture professional and stunning photography. The rule of thirds is when you create a grid by dividing the frame into 3 sections across and 3 sections down, creating 9 equal rectangles.
The concept is that you align the important element or multiple subjects along the grid’s lines or points of interactions. As amateur photographers, we have a tendency to place the subject directly in the middle of the frame. However, this does not always lead to the most attractive photo. By placing the subject off-center by using the rule of thirds, the photo will most likely lead to a more appealing arrangement.
Helpful Tip: Many camera manufactures have this feature included in their display capabilities. Even your iPhone camera has a tool for a display grid on your camera.
6. Foreground Interest and Create Depth
Foreground interest is when you use key points of interest that are comparatively near you to create depth in a photo. This can be a person, tree, boat, flowers, rocks, or any object close to you.
When you include a foreground interest in the frame, it helps add a sense of depth to the photo, which allows you to go from a one-dimensional perspective to a 2D or even 3D illusion.
Helpful Tip: have the foreground object take up ½ or up to the middle of the frame to create a multidimensional illusion.
7. Find Symmetry or Patterns
Finding patterns to fill the frame will give your photo more of a dramatic effect and exaggerate the sizing or number of objects in the frame. Try to find naturally or already built patterns and symmetry. For example, mirrored trees that are on both sides of a path or street lights at the same point and on either side of a street.
Don’t forget to have a focal point at the end of the shot to guide the eye to a single point otherwise the dramatic effect won’t work as well.
Helpful Tip: symmetry can also occur with non-related objects if they resemble each other in similar share, color, or texture.